So before you start, you have to make sure the area is cleaned, that all the equipment you use in there is cleaned. Is DNA RNA free and only dedicated to tubing? We will also have to wear protective personnel equipment, surgical gown, a mask, gloves, as you can see, non powdered gloves, sterile gloves. And we have to cover all our skin because the skin could contaminate the tube cells.
Here we are putting a sterile cloth over the cool block. We are taking the sample box from the embryo biopsy kit. All this is DNA RNA free so we can touch that with our sterile gloves. Now, this way I pushed away the box. The outside of the box, of course, is not clean, so I use a sterile cloth to move it.
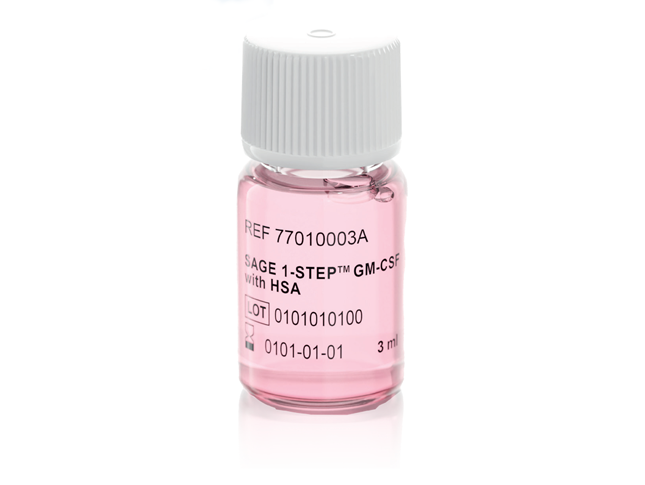
Here, we take out the sample rack box, put a plastic bag behind it, and we will open it. And here we find our buffer. We will take out the buffer that we will use for the washing and the tubing. We will check the lot number and the expiry date and record all that on the biopsy worksheet here. Of course, it’s the witness who is recording this on the biopsy worksheet.
Then we will take out a maximum of five tubes, we will close the tube bag, and then we will close those tubes immediately and put them in the rack. We will label the tubes. And for the CooperGenomics labels, there is also a barcode. So that label needs to go as high as possible on the tube and ending with the barcodes.
We also give one of the labels to our colleague, who will then stick this to the worksheet. So we are sure that the ID is the same on the tubes as on our paperwork, our worksheet. Now we’re going to prepare the tubes. We are going to add two microliters of buffer, for this we use, of course, tips that are DNA, RNA free.
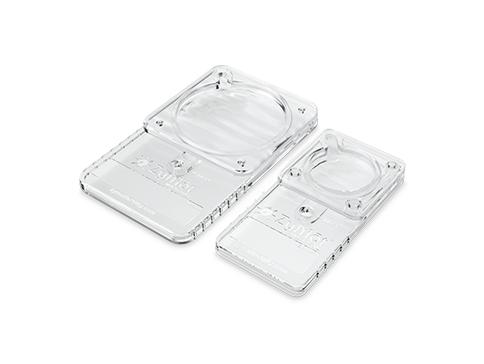
And these tip boxes are only dedicated for the tubing work. So one by one we will add two microliters of the tubing fluid and we will close immediately the tube after we have introduced the buffer. When that is done, we will start preparing our washing dish. And for this we will record the name of the patient on the dish and the embryo number, and we will then add 20 microliters of the buffer in each of the wells.
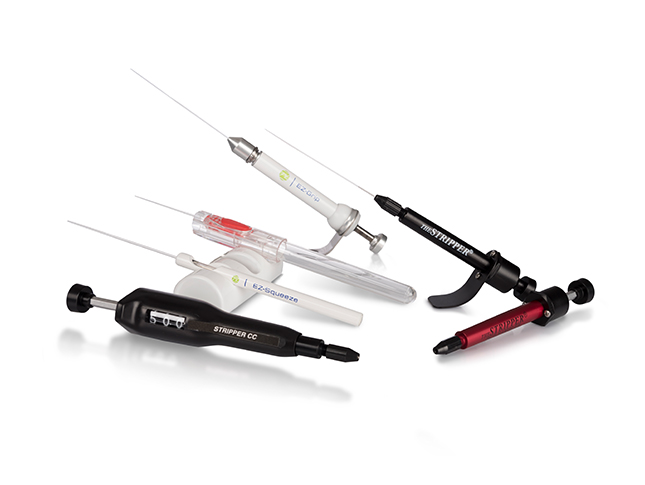
This is a unique dish for that specific embryo. So for each embryo we make a fresh dish immediately prepare, before we do the tubing. Now we are taking our biopsy dish itself. We primed the pipettes and we will transfer the sample from droplet number two to the first washing drop.
We keep on monitoring through the stereo microscope and we try to avoid to make any bubbles because that is will make life much more complicated when moving the sample. So we expel the content or the excess content. We will take fresh medium from the next drop and then we will move back to our sample. We will aspirate the sample and then flush it out.
We will expel again the excess medium and take fresh medium from the next drop. And in this way we will continue to move the sample to wash the sample through these four drops. Try to avoid to take oil from the biopsy dish through the washing steps because oil might interfere with the amplification of the DNA. So now we have the sample in the pipette with 0.5 micrometer of buffer.
We are focusing now on the tip of the tube and we will introduce a pipette and deposit the sample in this two microliter of Buffer. We will check, flush the pipette to see if the sample has been removed and then we will write the number of the embryo on the tube and on the label as well. And the witness will check this and will record all other important items like the number of cells, the quality of the specific embryo and so forth.
We will then quickly spin these tubes in a mini centrifuge, placed them in the tube rack, close the tube rack, so that the tube sample doesn’t move. And then we will write the name of the patient and the date of birth on that specific box. The witness, of course, will double check that this is correct. And then we will introduce and pack the box and this one now will go to the freezer.

