Hi I’m Dave Morroll.
I’m the director of clinical support for CooperSurgical Fertility Solutions.
Today I’m at Care Fertility London and I’ll be showing you how to prepare and load the Sure Pro Ultra embryo transfer catheter.
I will explain the preparation of the catheter including the loading of the embryos, the type of medium used, the volumes and the use of air gaps.
I’ll also explain how to load an embryo with and without an oil overlay.
We have two options with the Sure Pro Ultra.
The first one is where the catheter is all in one. So that’s for the single stage transfer. And this just comes out as one complete device.
As an alternative, we have the same catheter, but in a package with an additional obturator and here the outer catheter with the obturator can go straight through to the person performing the embryo transfer.
And then alongside it is the inner catheter in a protective sleeve. And that part is used by the embryologist to load the embryos.
So what I’ll start by doing is preparing the work area. Firstly, I’ll wash my hands. Now I’ll don the sterile gloves for the single stage procedure.
I need to prepare the syringe with medium, expel the air bubble and then that will go on to the catheter and then I will flush through the catheter.
So it’s important to keep the catheter vertical so that when the medium comes out it will push the bubble up through the catheter.
Then I’m just going to expel the medium all the way down as far as the point one millimeter mark. Now the catheter is ready. What I’ll do is just introduce a small air gap at the end of the catheter just a few millimeters like that. Then I’ll go into the drop
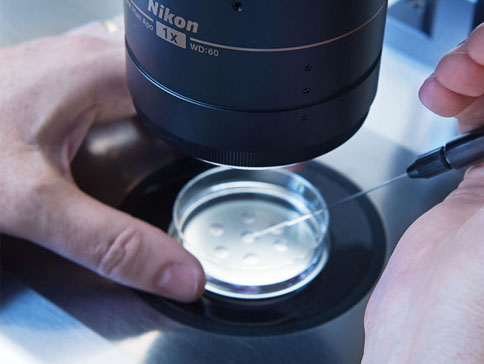
and aspirate a little bit of medium into the catheter with the embryo check it’s picked up and then a little air gap up at the end so medium air gap medium and a little air gap at the end so with the catheter with the obturator take the inner catheter out of the pack and this part of the pack with the outer catheter and the obturator will go through to the person performing the transfer and then I will flush through the catheter taking the sleeve off keep it upright medium comes up Now what I’m going to do with this one is repeat the flush.
I’m going to take that off the second time.
There shouldn’t be a bubble so that can then go on then again flush it through down to the point one millimeter mark so in this second case I’ve taken the syringe off the catheter reloaded with medium and flushed through down to the point one millimeter mark effectively cleaning the catheter twice.
Unlike last time. I’m actually going to load the embryo without any air gaps.
So in this case it’s just catheter into the drop a little bit of medium expelled from the end draw up some medium from the drop and then the embryo a little bit more medium. And there it is. So you can see this time there are no air gaps.
So far I’ve shown you loading from wells with no oil overlay and it’s perfectly feasible to load embryos into the embryo transfer catheter from micro drops under oil and the evidence suggests that’s equally effective I’m just going to bring in a little bit of an air gap then into the drop under oil take up some medium from the drop followed by the bead representing the embryo out completely from under the oil and another air gap so again
I’ve loaded with an air gap followed by between half and one centimeter with the embryo in and then an air gap at the end. And remember when loading embryos
from micro drops under oil it’s really important to rinse the tip of the catheter in some medium before the transfer itself.
So we’ve shown you the embryology part of the embryo transfer procedure and how a single stage in a two stage transfer is performed and now the embryo transfer catheter has gone to the procedure room.
